
If you’ve ever finished a relief carving only to find it looked flat, muddy, or lacked detail, you’re not alone. CNC relief carving has a learning curve, and even experienced users occasionally run into problems.
The good news is that most disappointing results come from a handful of common mistakes that are easy to fix once you know what to look for.
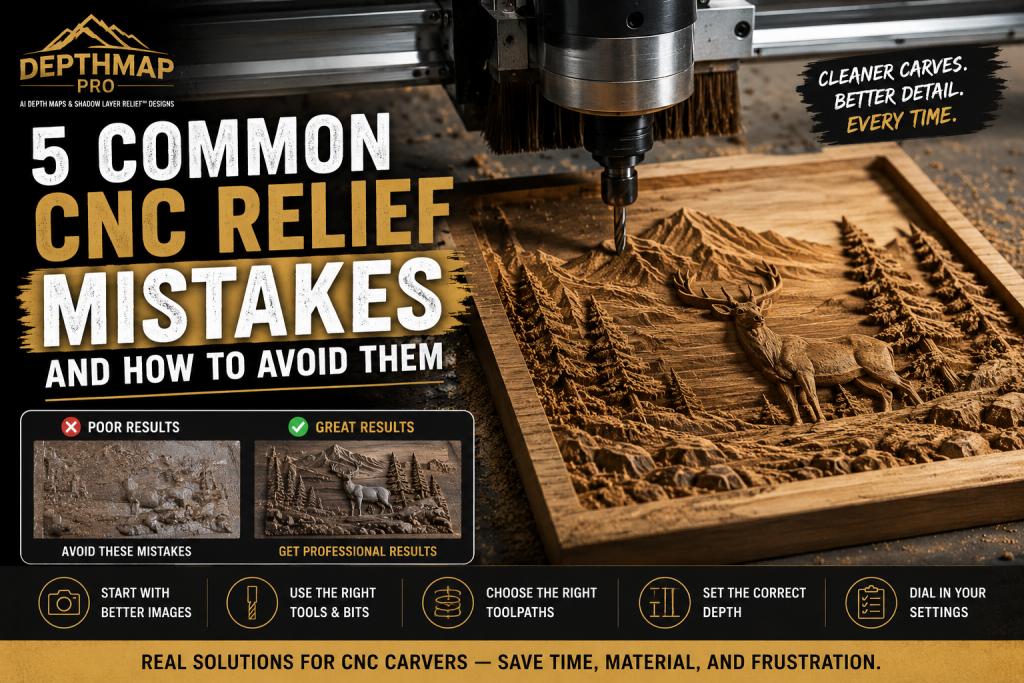
1. Starting with a Poor Image
The quality of your relief begins with the image you use. Low-resolution photos, blurry images, or pictures with poor lighting often produce disappointing depth maps and weak carvings.
Solution:
- Use sharp, high-resolution images.
- Choose photos with good contrast and clear subjects.
- Remove distracting backgrounds before creating a depth map.
A clean source image almost always produces a better relief.
2. Using the Wrong Toolpath
Many beginners try to machine an entire relief with a single tool. While this works for simple projects, detailed carvings require multiple operations.
Solution:
- Use a larger ball nose for roughing when appropriate.
- Finish with a smaller ball nose to capture fine details.
- Use an appropriate stepover—too large leaves visible ridges, while extremely small stepovers greatly increase machining time with diminishing returns.
The correct combination of tooling produces cleaner details and smoother surfaces.
3. Carving Too Deep
A common misconception is that deeper carvings always look better. In reality, excessive depth can make features look distorted and increase machining time.
Solution:
- Let lighting and shadows create the visual effect.
- Keep relief depth appropriate for the size of the project.
- Test different depths on scrap material before committing to a final piece.
Often, a moderate relief with good lighting appears more realistic than an overly deep carve.
4. Choosing the Wrong Wood
Not every wood species is suitable for detailed relief carving. Woods with heavy grain or inconsistent hardness can hide fine details.
Good choices include:
- Basswood
- Maple
- Cherry
- Alder
More challenging woods include:
- Construction pine
- Cedar with pronounced grain
- Knotted lumber
Using flat, stable hardwood generally produces the best results.
5. Ignoring the Finishing Process
Even an excellent carve can lose detail if the finishing process isn’t planned carefully.
Solution:
- Sand lightly to preserve fine details.
- Remove dust from recessed areas before applying finish.
- Consider adding stain, paint, or laser shading to increase contrast and make details stand out.
A thoughtful finish can dramatically improve the appearance of a relief carving.
Final Thoughts
Every CNC operator makes mistakes while learning relief carving. The key is understanding what causes poor results and making small adjustments to your workflow.
Better images, appropriate tooling, suitable materials, and careful finishing all contribute to cleaner, more professional-looking carvings.
At DepthMapPro, our goal is to help woodworkers create detailed CNC reliefs with less trial and error. Whether you’re working on wildlife scenes, portraits, signs, or decorative artwork, starting with a quality depth map gives your project the best possible foundation.
Happy carving!
Leave a Reply